It's bad enough that a pipe is frozen. That means you can't get water out of some fixture where you would normally expect to get all you want. It's even worse when the freeze happens in the main pipe that supplies your house or office. But sometimes that ice can even damage the pipes.
People sometimes have the mistaken notion that the water pressure inside the pipe is what causes an ice plug to burst a pipe. Not so: that pressure is always there. Turn the faucet off and the pressure is still there. That the water isn't moving doesn't change the fact that the water pressure continues to press on the pipe. And really, most houses run at less than 100 pounds of pressure, considerably less. My own home's pressure regulator is set for 40 pounds, which is more than sufficient for every need.
Think about ice in your freezer, and icebergs. What do we know about ice? It floats. Why does it float if it's just made of water? It floats because it occupies more volume than an equivalent mass of water would. And yet it already is water, so it is an equivalent mass to itself. That must mean that in becoming ice, water expands as it freezes. And indeed, so it does.
Many of us are already aware of the magical 1/7 ratio, that about 1/7 of an iceberg is all you see above the water, and the rest is below the surface. I've never researched that too carefully so for now let's assume it's the gospel truth and move on. But here's a tidbit you might not know: water ice that is restrained as it freezes can exert tremendous pressure on its container. How much pressure?
Thirty thousand pounds. 30,000 psi. That's a huge amount.
If you ever experimented by placing a bottle full of water into the freezer to see what would happen to it, perhaps you saw either a lot of ice dribbled down the side of the bottle, or perhaps you saw the bottle split, the top from the bottom.
Household plumbing is pretty sturdy stuff. Even cheap plastic PEX water supply lines will easily resist 100 psi of pressure with no difficulty. But 25,000 psi blows through household piping like it wasn't even there. Don't be misled, you can have plumbing that can sustain such pressures. A 1/2" inside diameter steel pipe can sustain nearly that kind of pressure, but it won't be the pipe you find at Home Depot, no way. It's a piece of pipe with an inside diameter of 1/2 inch, but an outside diameter closer to 13/16". That is not typical plumbing pipe. And your typical copper plumbing is nothing in the face of such pressures.
So an ice plug formed somewhere in your piping. If you're very lucky it expanded back in the direction of the water supply. That means it only experienced the pressures generated by the city water. The piping walls might take some strain but it's not too uncommon that an ice plug just grows along the pipe and is an inconvenience, nothing more.
But if you have an ice plug that grows toward the fixtures, which are often turned off, then there's nowhere for the pressure of the growing ice to go but out. And that's when you get pipes bursting.
Obviously the first step is to turn off the water. Find your control valve if you have one, or the main shutoff if you don't, and get things to a standstill. Place buckets under the leaks if they're coming from overhead. If they're in your crawlspace you got lucky for the moment. More on that shortly. If the leak is in your wall, you have some cutting to do to find the source.
Now you need to go shopping. You have some options:
You can make your repair using a repair coupling:
or if your break is small, you can use one like is intended for regular plumbing joints:

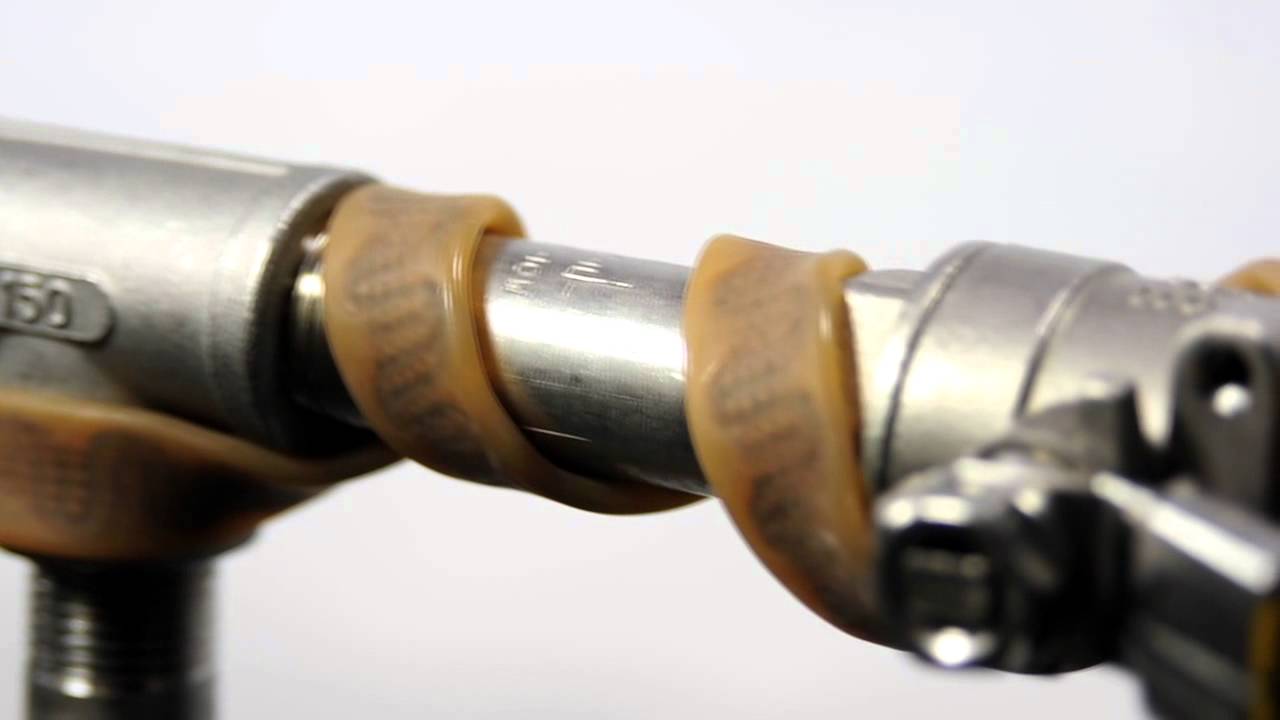
and if you shop in the right places you can even find a longer length of the coupling-diameter pipe:

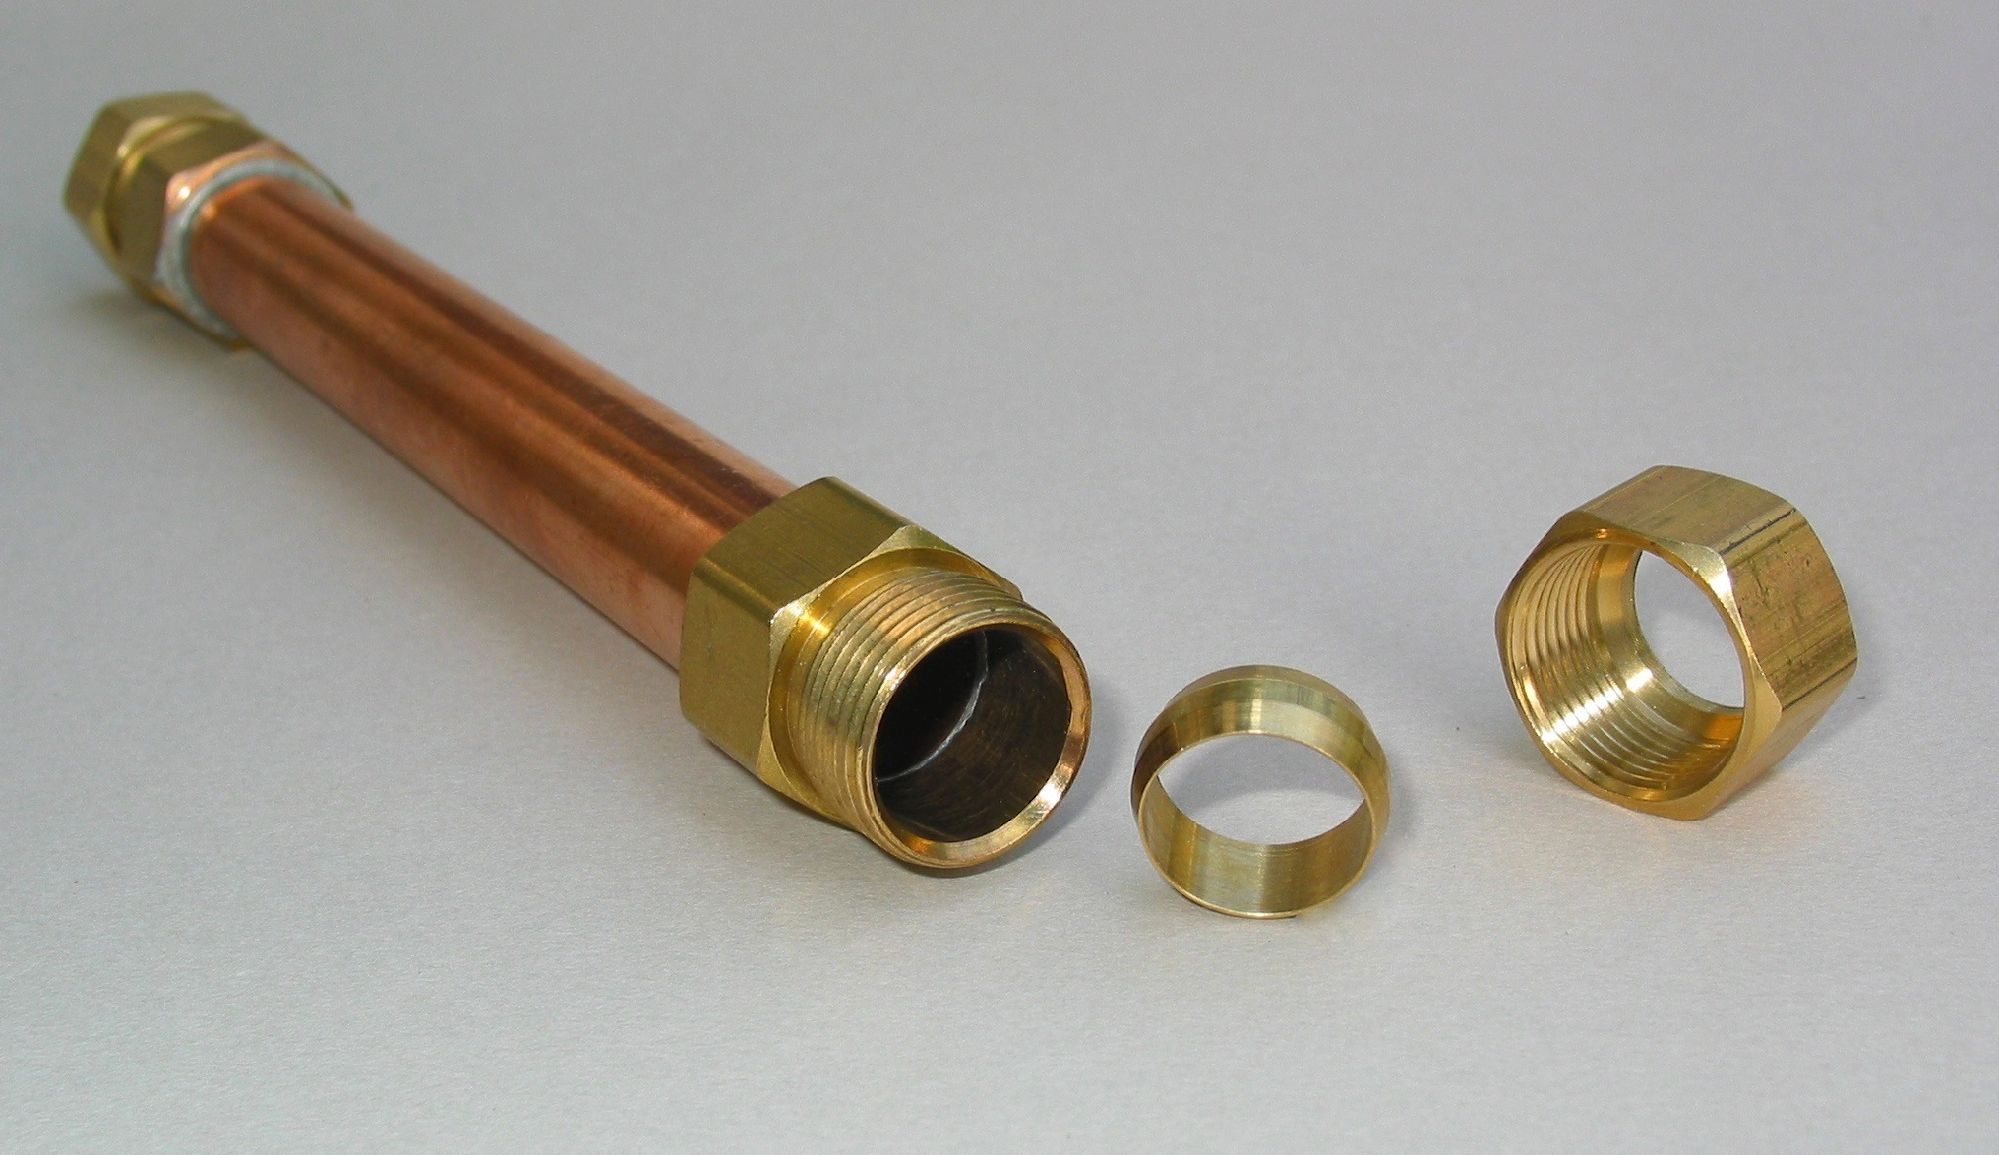
That last one is very useful: you can cut out the damaged section, flex the existing pipe just a bit to slide this repair piece over the existing pipe, and solder it on. No measuring, just a quick slide-and-torch job. Very convenient. And the last time I bought a piece it was about $8.00 for a 12" length. I like to use the entire length on the repair because it provides plenty of support to the pipe, which is important since you have to cut the pipe to install the piece. That top piece with the compression fittings works in a similar fashion, you don't have to measure carefully to get the lengths right, the entire length of the piece will slide right over the existing pipe.
Be advised that these are easy to find in 1/2" sizes, typical household size. If you have a different size go wrong, you may be in some difficulty. One house where I lived had a lot of 3/4" copper supply pipe, just ridiculously sized plumbing. And it sprang a leak. That's when I had to get one of these:
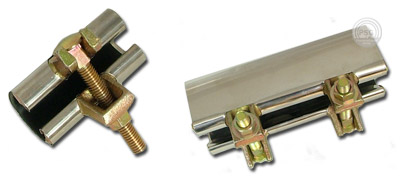
It's called a pipe repair clamp and it's a lot more forgiving on the pipe diameter. They're intended as a temporary measure so you can keep the water running while you set up for a proper repair, but when I moved away from that old house the clamp had been in place for three years.
To fix the leak you have to find it. You have to find it. This will necessitate cutting open a wall if it isn't someplace convenient like a basement or crawlspace. I like exposed plumbing for this reason. I don't mind plumbing, but I dislike all the concomitant finish work that follows a burst pipe, trying to make the place look nice afterward. So screw up your courage and cut open the wall, ceiling, whatever. Find it. Cut out the damage and solder in the repair.
Remember the crawlspace? Yeah, about that: if your pipe is leaking down there, then it is conveniently not soaking your house...but now you have to go slithering around under the house in a lake of freezing mud and do your repair there. Win some, lose some.
Compression fittings just wrench on. Slide the nut onto the pipe, followed by the compression sleeve, and then the repair fitting. Torque it up. Use two wrenches, one for torquing and the other to keep things from getting twisted up. Don't go too crazy, you'll be able to feel when things have started to bottom out. NOTE: be damned sure about where you want that compression sleeve. They aren't reusable. If you get things wrong you have to cut off the bit of pipe with the sleeve and start over.
Solder fittings are a little more involved. You have to sand the pipe surfaces to remove gunk, then add some flux. You need a clean, pure surface for a good solder joint. Sanding gets you close, but the flux is crucial for finishing the job, reacting with and carrying away contaminants so the solder can do its thing. The upside is that the solder joint is a lot stronger than a compression joint, and the material costs are fewer once you've bought the torch, flux and solder. $20 worth of flux and solder will plumb an entire house, $20 worth of compression fittings will do one bathroom. And with solder if you get things wrong, you can heat things up until the solder melts and knock it apart, and start over. The only downside of soldering is the possibility of lighting yourself or your home on fire. So be careful. The cool thing about soldering, though, is that once you've got the hang of it it's actually a lot of fun.
Now let's think a moment about prevention:
Pipe insulation

You can also fight the cold by adding heat
with a heat tape. So far every installation I've ever seen had the tape wrapped in a spiral around the pipe. That's overdoing things. Simply having the tape run alongside the pipe, and perhaps fastened directly to the pipe with a spiral of electrical tape, will suffice admirably and provide a lot more distance on the pipe. Follow it up by wrapping the whole mess with pipe insulation and your pipes should be proof against anything but the next ice age.
Unless your power goes out.
Good luck, stay warm and dry, and be careful.
No comments:
Post a Comment